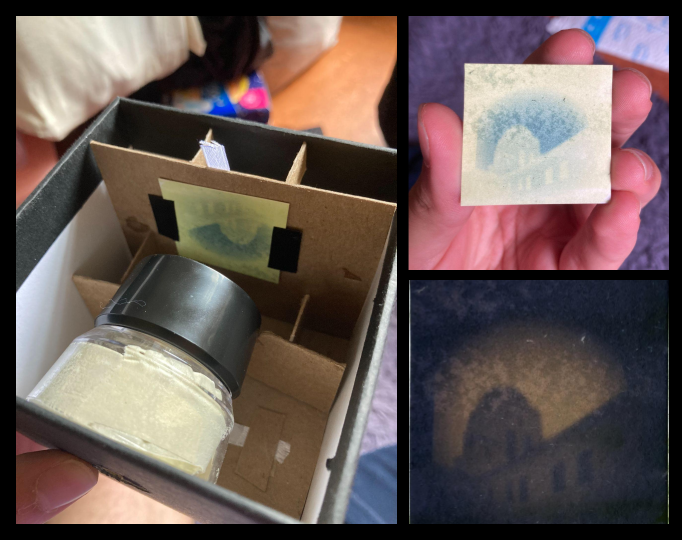
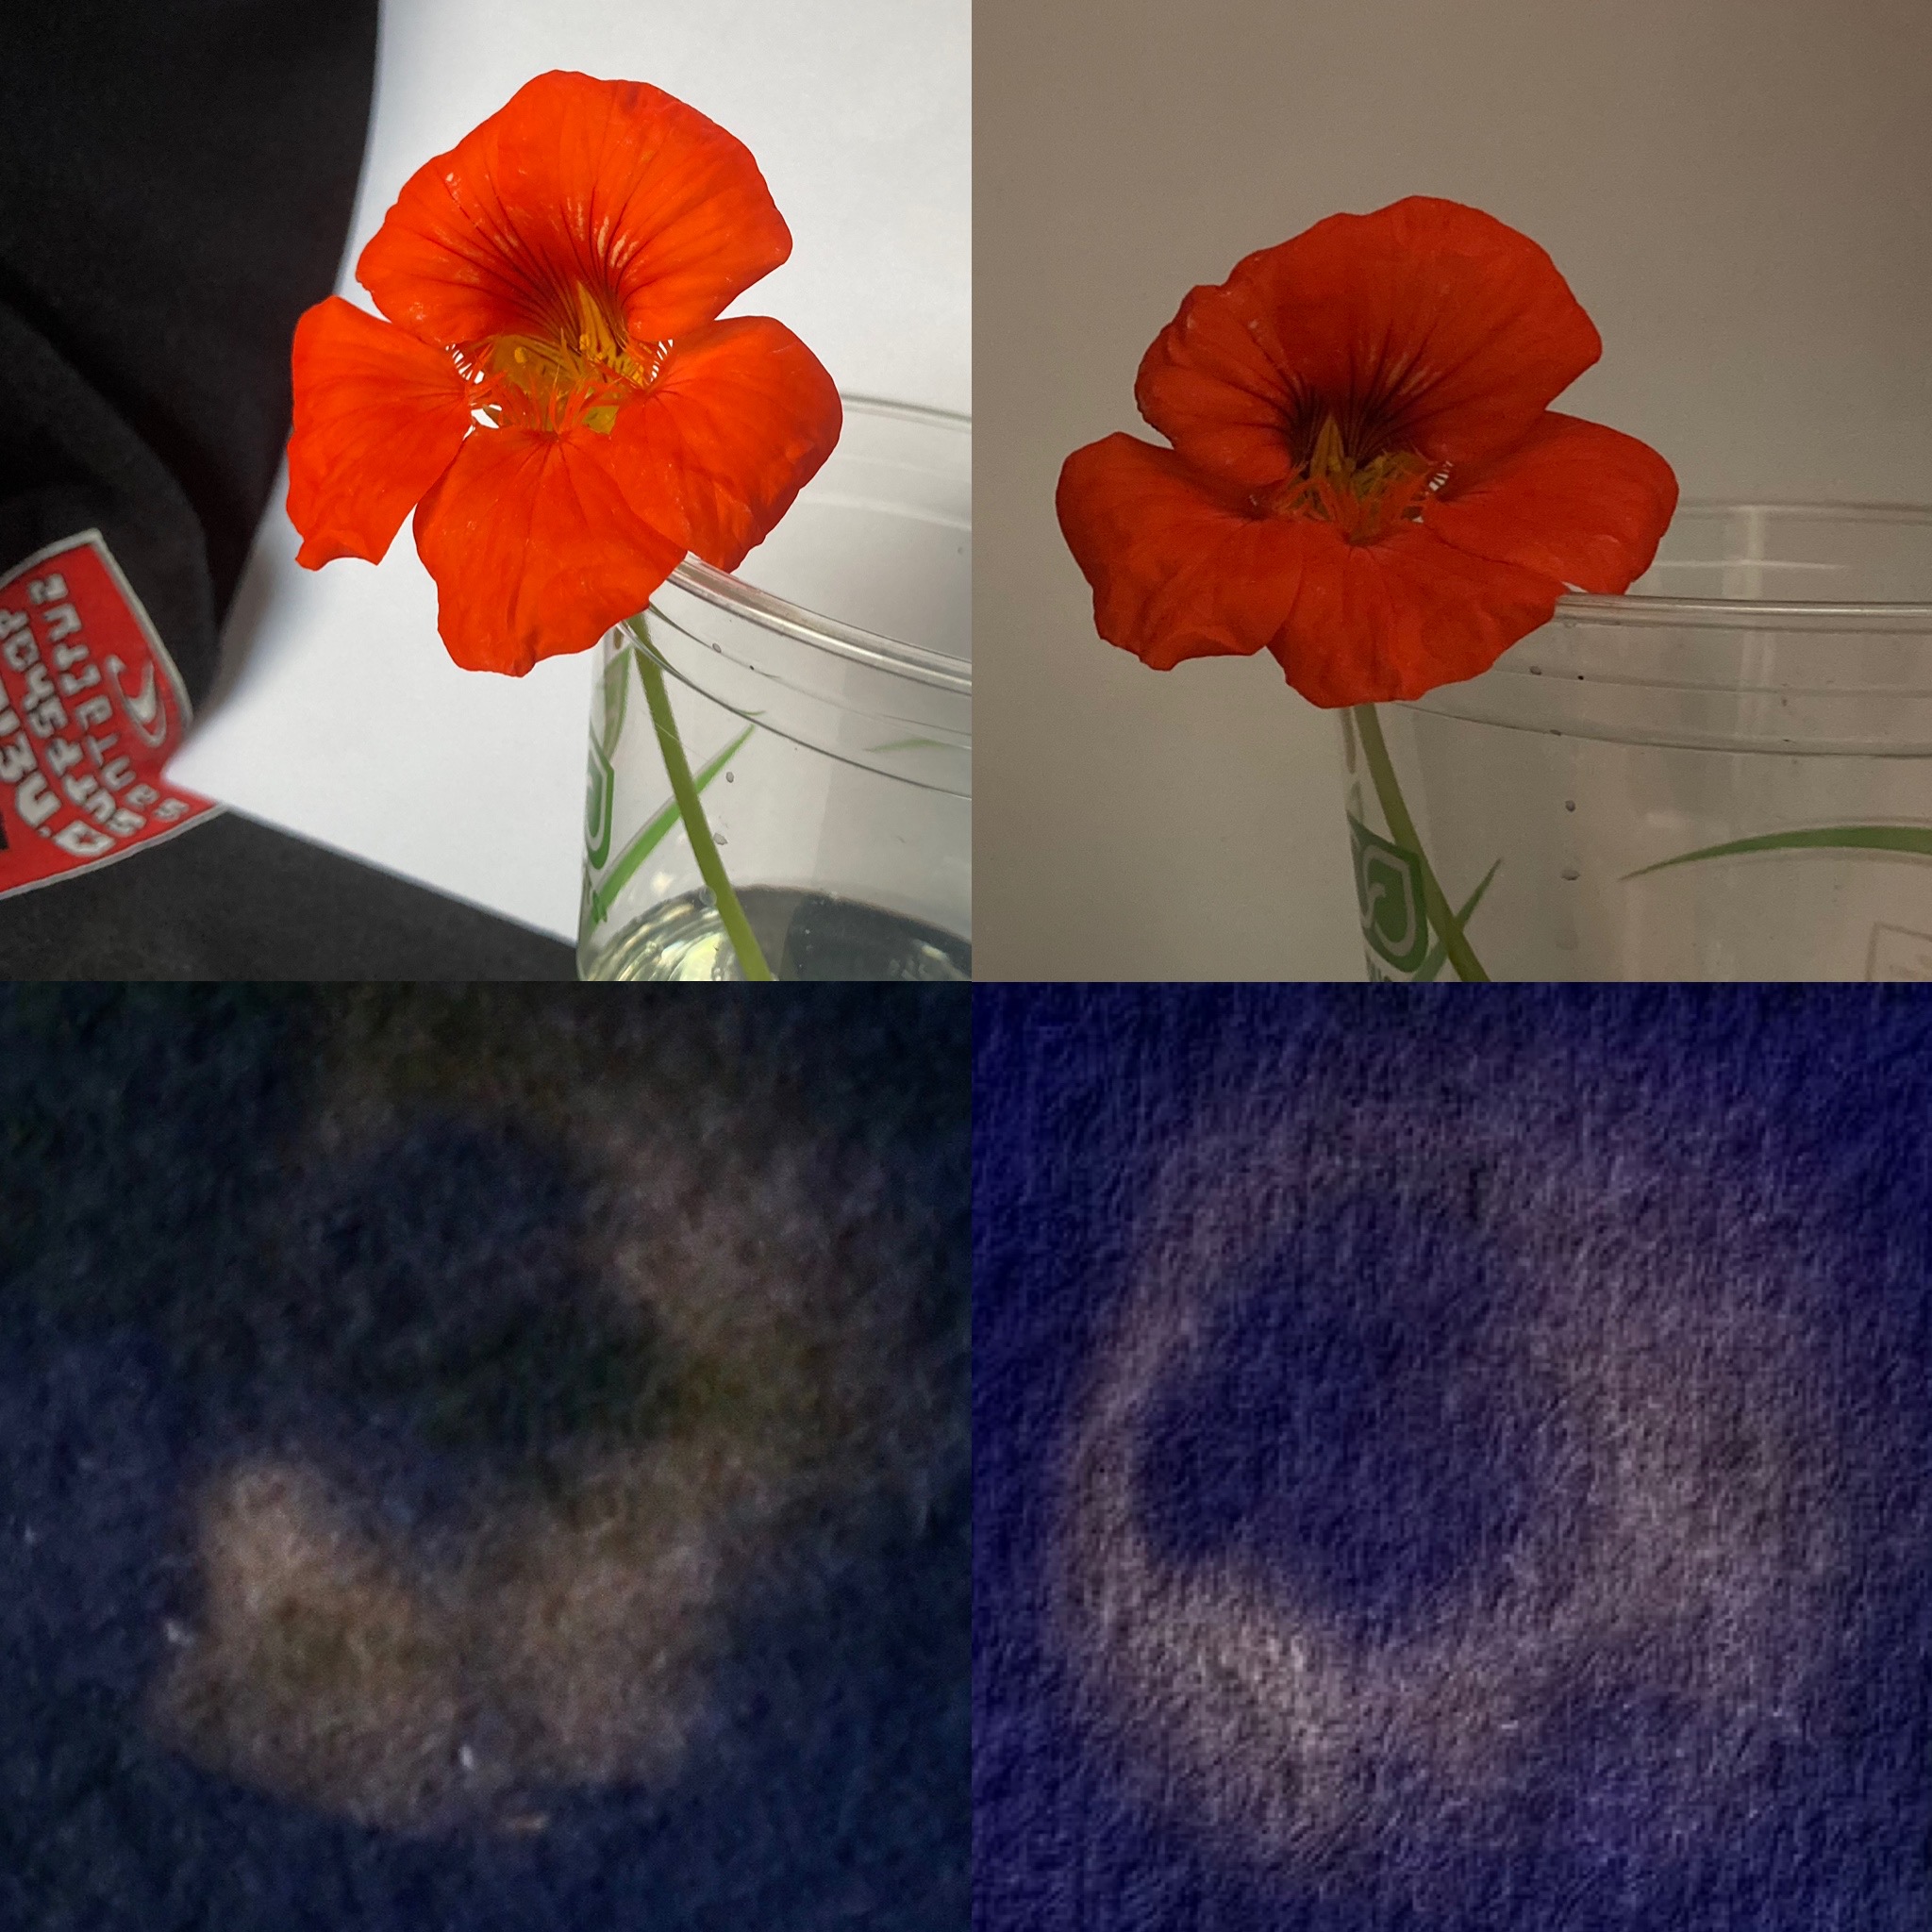
The collage above includes the second (and most successful) of my first three attempts at cyanotype photography.
My next few attempts all failed to leave any imprint on the cyanotype paper, probably because I was using expired sheets. The chemical formula seems to lose sensitivity quickly (within a day), even when sheets are stored in a light proof box.
I started getting images again when I shifted to a freshly made batch of coated sheets.
Confident I could consistently take cyanotype photographs, I shifted my focus from the visible spectrum to ultraviolet. The cyanotype mixture is sensitive to wavelengths corresponding to the blue-indigo-violet end of the visible light spectrum and ultraviolet light (10 - 400 nanometers).
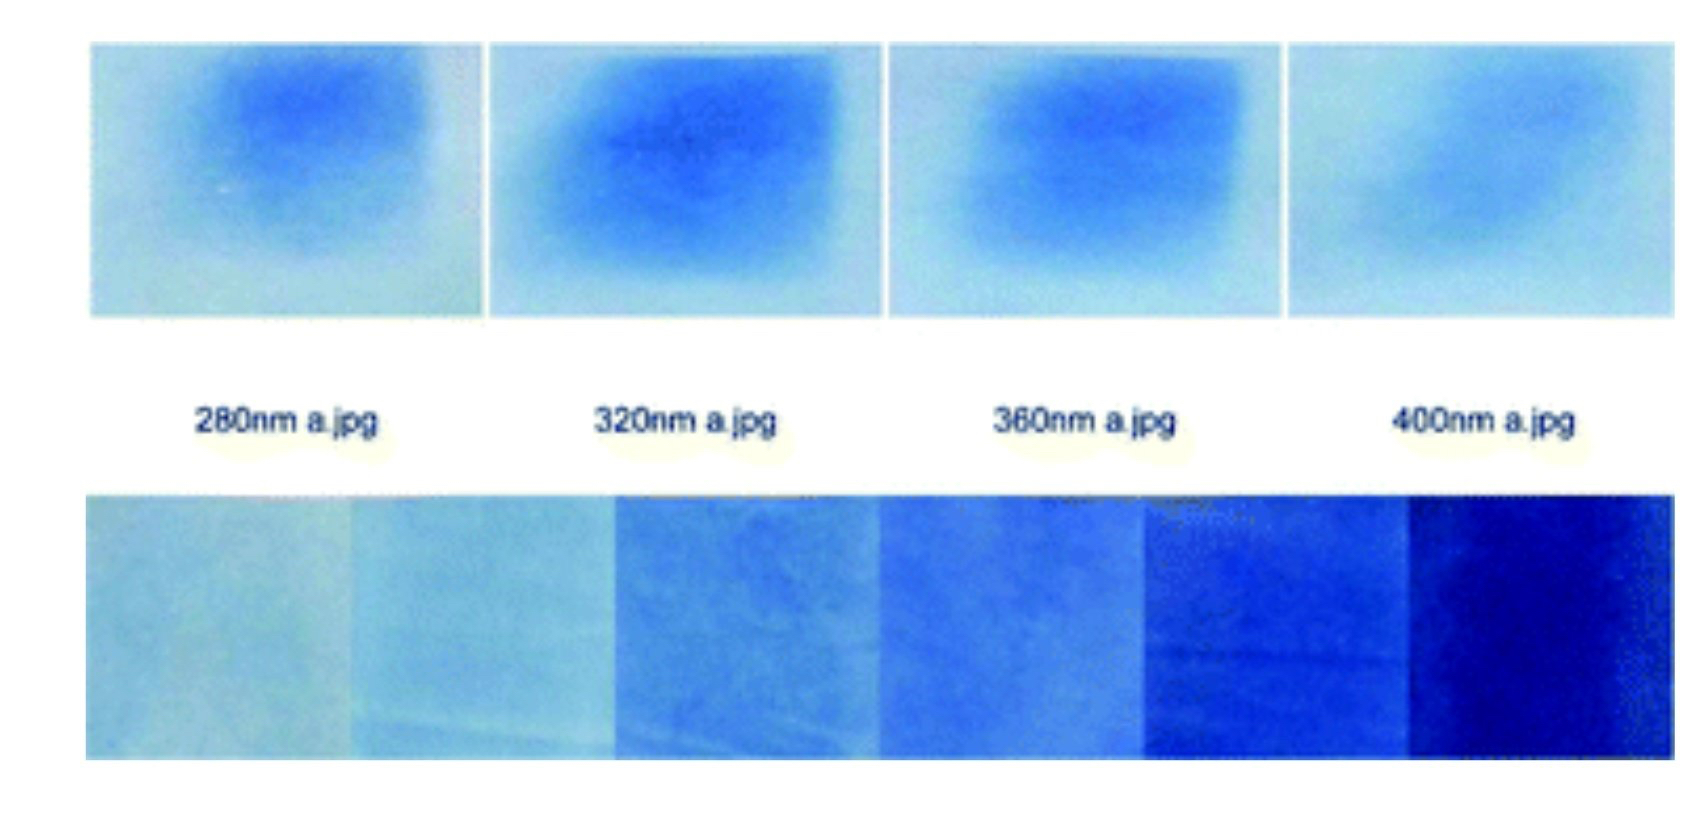
I wondered whether I could use this property to capture photographs of the ultraviolet patterns that flowers use to guide pollinators (in other words, I wanted to see what the bees see).

My first experimental setup was a cardboard box lined with a black t-shirt, which served as the backdrop to a freshly picked wildflower (garden nasturtium) and a “control” flower made of white printer paper, both squarely in the camera’s field of view. I left this assembly in a sunny place for two hours.

The result is shown above: the paper control flower is visible (though blurry), which tells me that a considerable amount of light struck the scene. The Nasturtium is not visible, or at least it is inconclusively visible. As far as I can tell, there are a few possible explanations for the wildflower’s invisibility;
-it may be that the flower was blown around too much by the wind, rendering it invisible, like anything that moves around too much during a long exposure.
-it may be that the flower wilted, which ultimately had the same effect as the wind.
-it may be that not enough UV light reflected off of the petals to be picked up by the paper.
The first two reasons are almost certainly true, and can be corrected in a future setup. The third reason is more of a head scratcher, and will require more reading into the nature of cyanotype and UV light. For now, I’ll see what happens if only the first two issues are resolved.
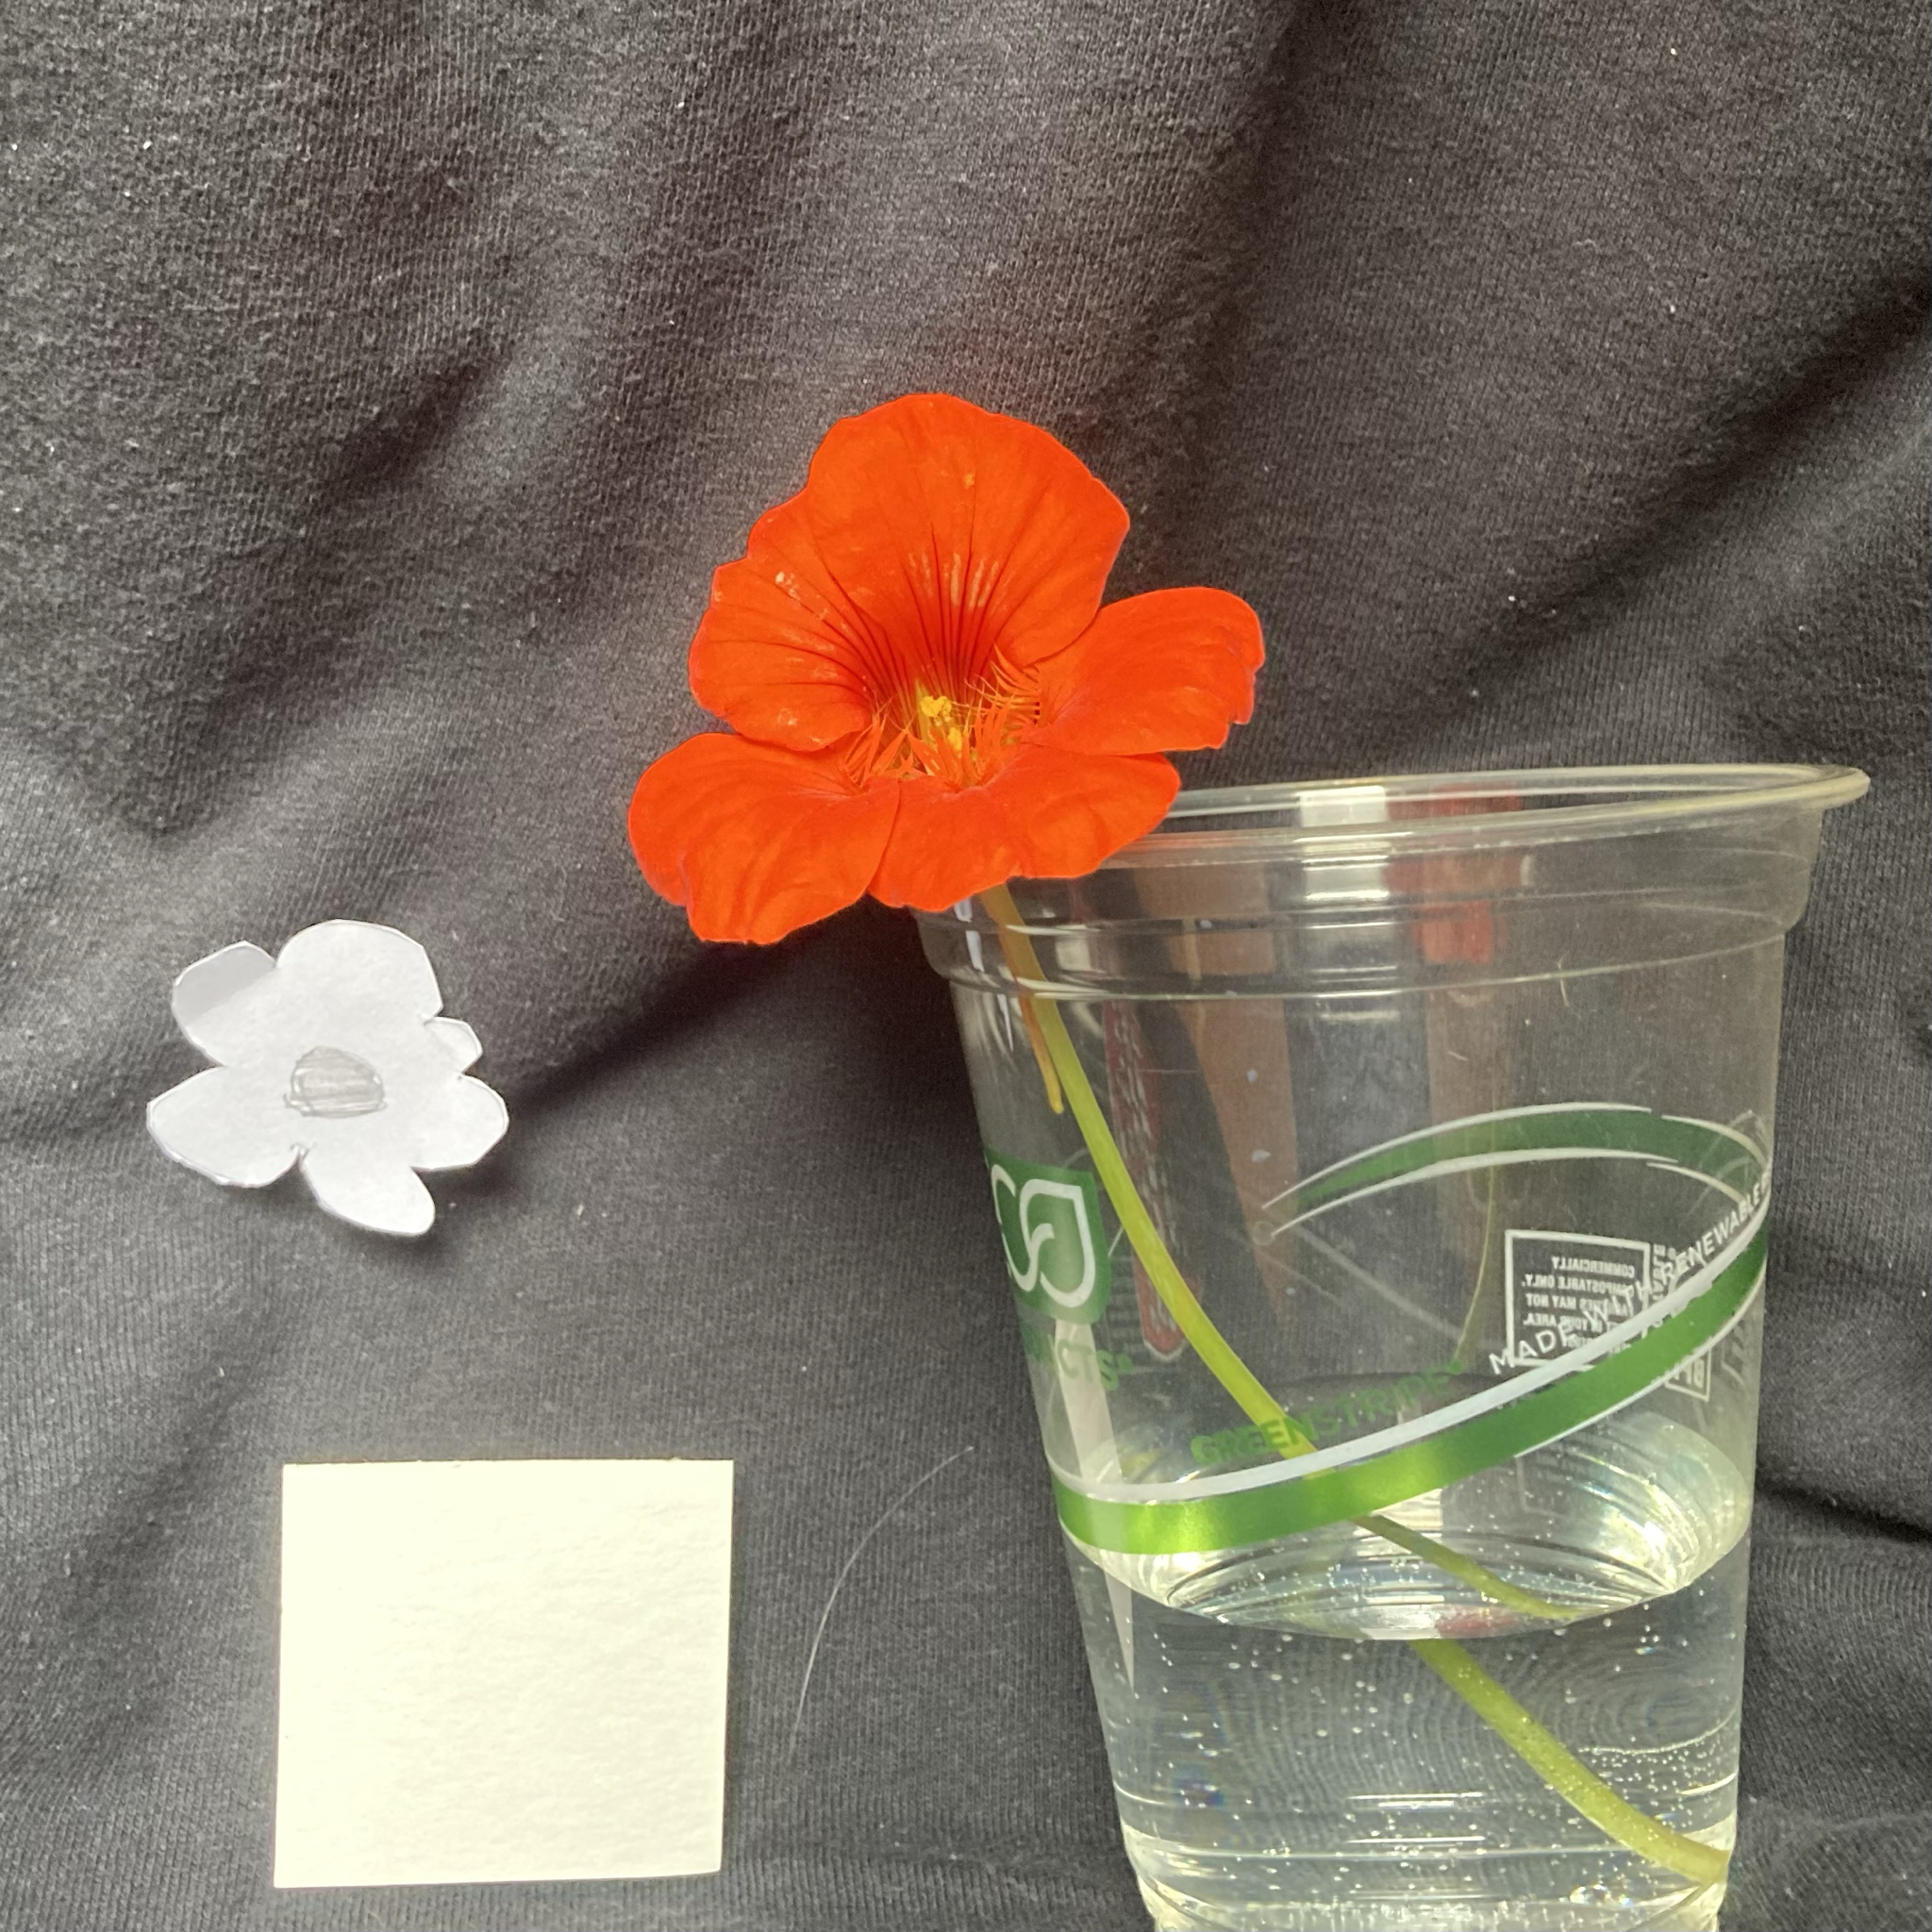
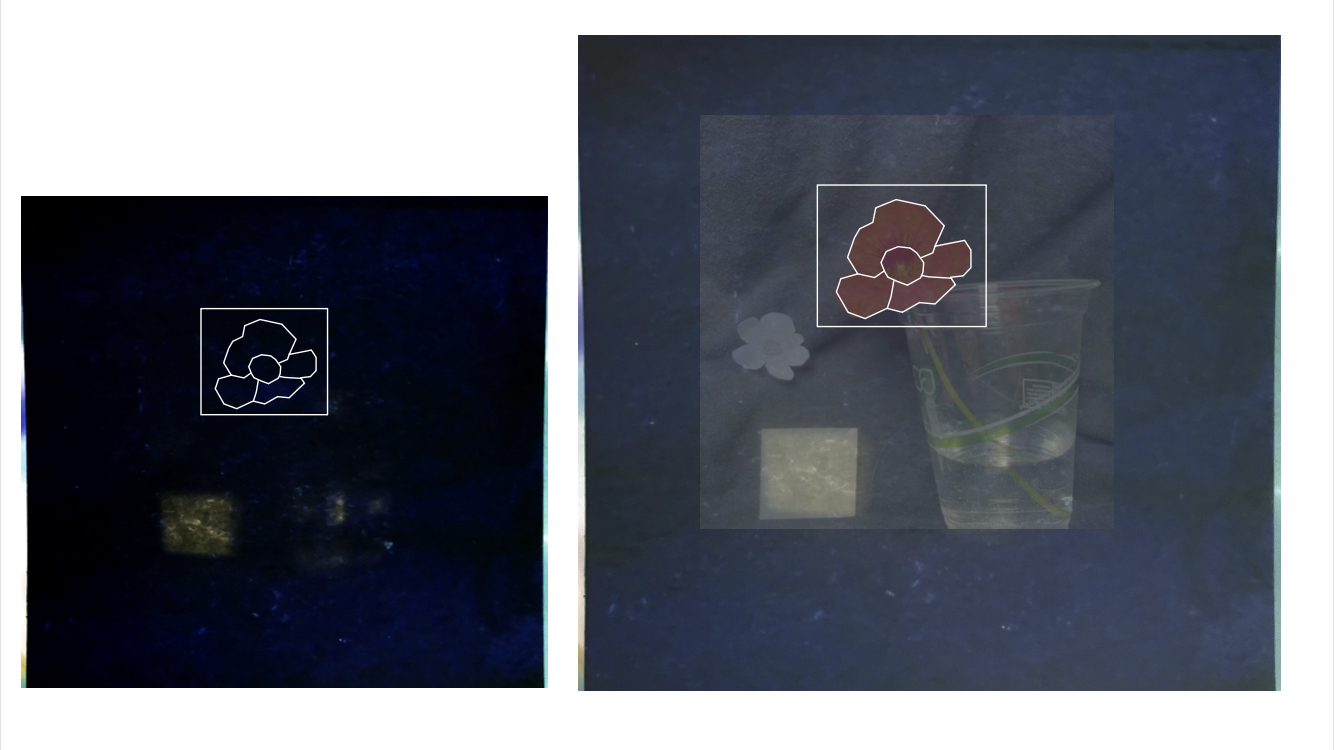
Above is my second setup: the same box, the same black fabric backdrop, the same port control flower— but the wildflower is now in a vase with water, which should keep it from wilting for at least a few hours. The setup is also kept indoors, next to an open window facing west, to maximize incoming UV and minimize wind. There is also an additional control paper now, a small white square, which may be more useful in helping me locate where the flower should be in the image if it is again unclear.
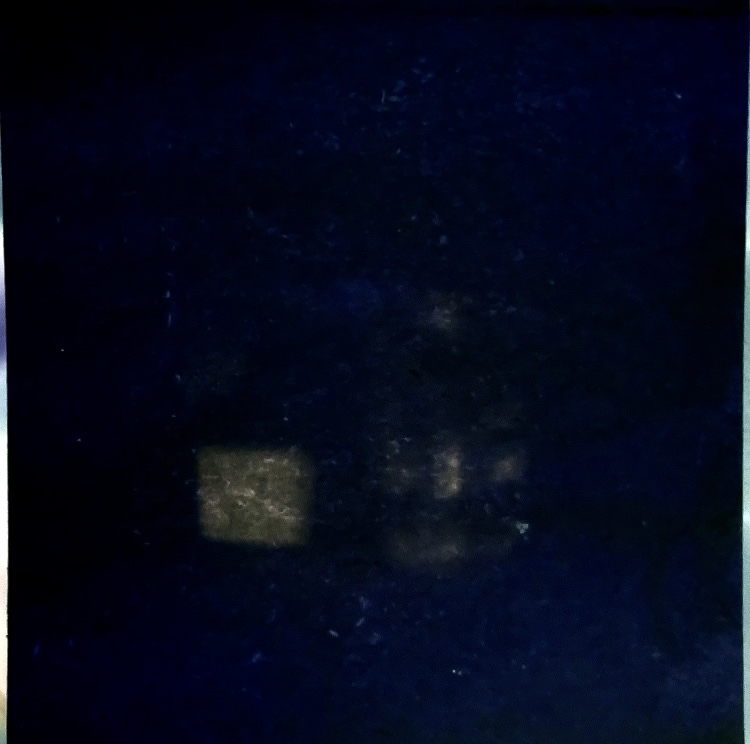
Again, the results are unclear. The paper control square is visible (the control flower, which fell during the exposure, is not). So is the glare from the plastic cup I used as a vase. The flower is not readily visible; there is a splotchy area near where the center of the petal probably is, but it’s not clear.
After a few attempts with this and similar setups, I was so tired of not seeing any trace of the flower whatsoever that I decided to switch the backdrop to reflective white. My hope was that this would at least give me an image of the flower in silhouette, and being able to see the shape of the flower might let me focus on the petals and see if I could detect any signs of uneven UV reflectance or absorption.
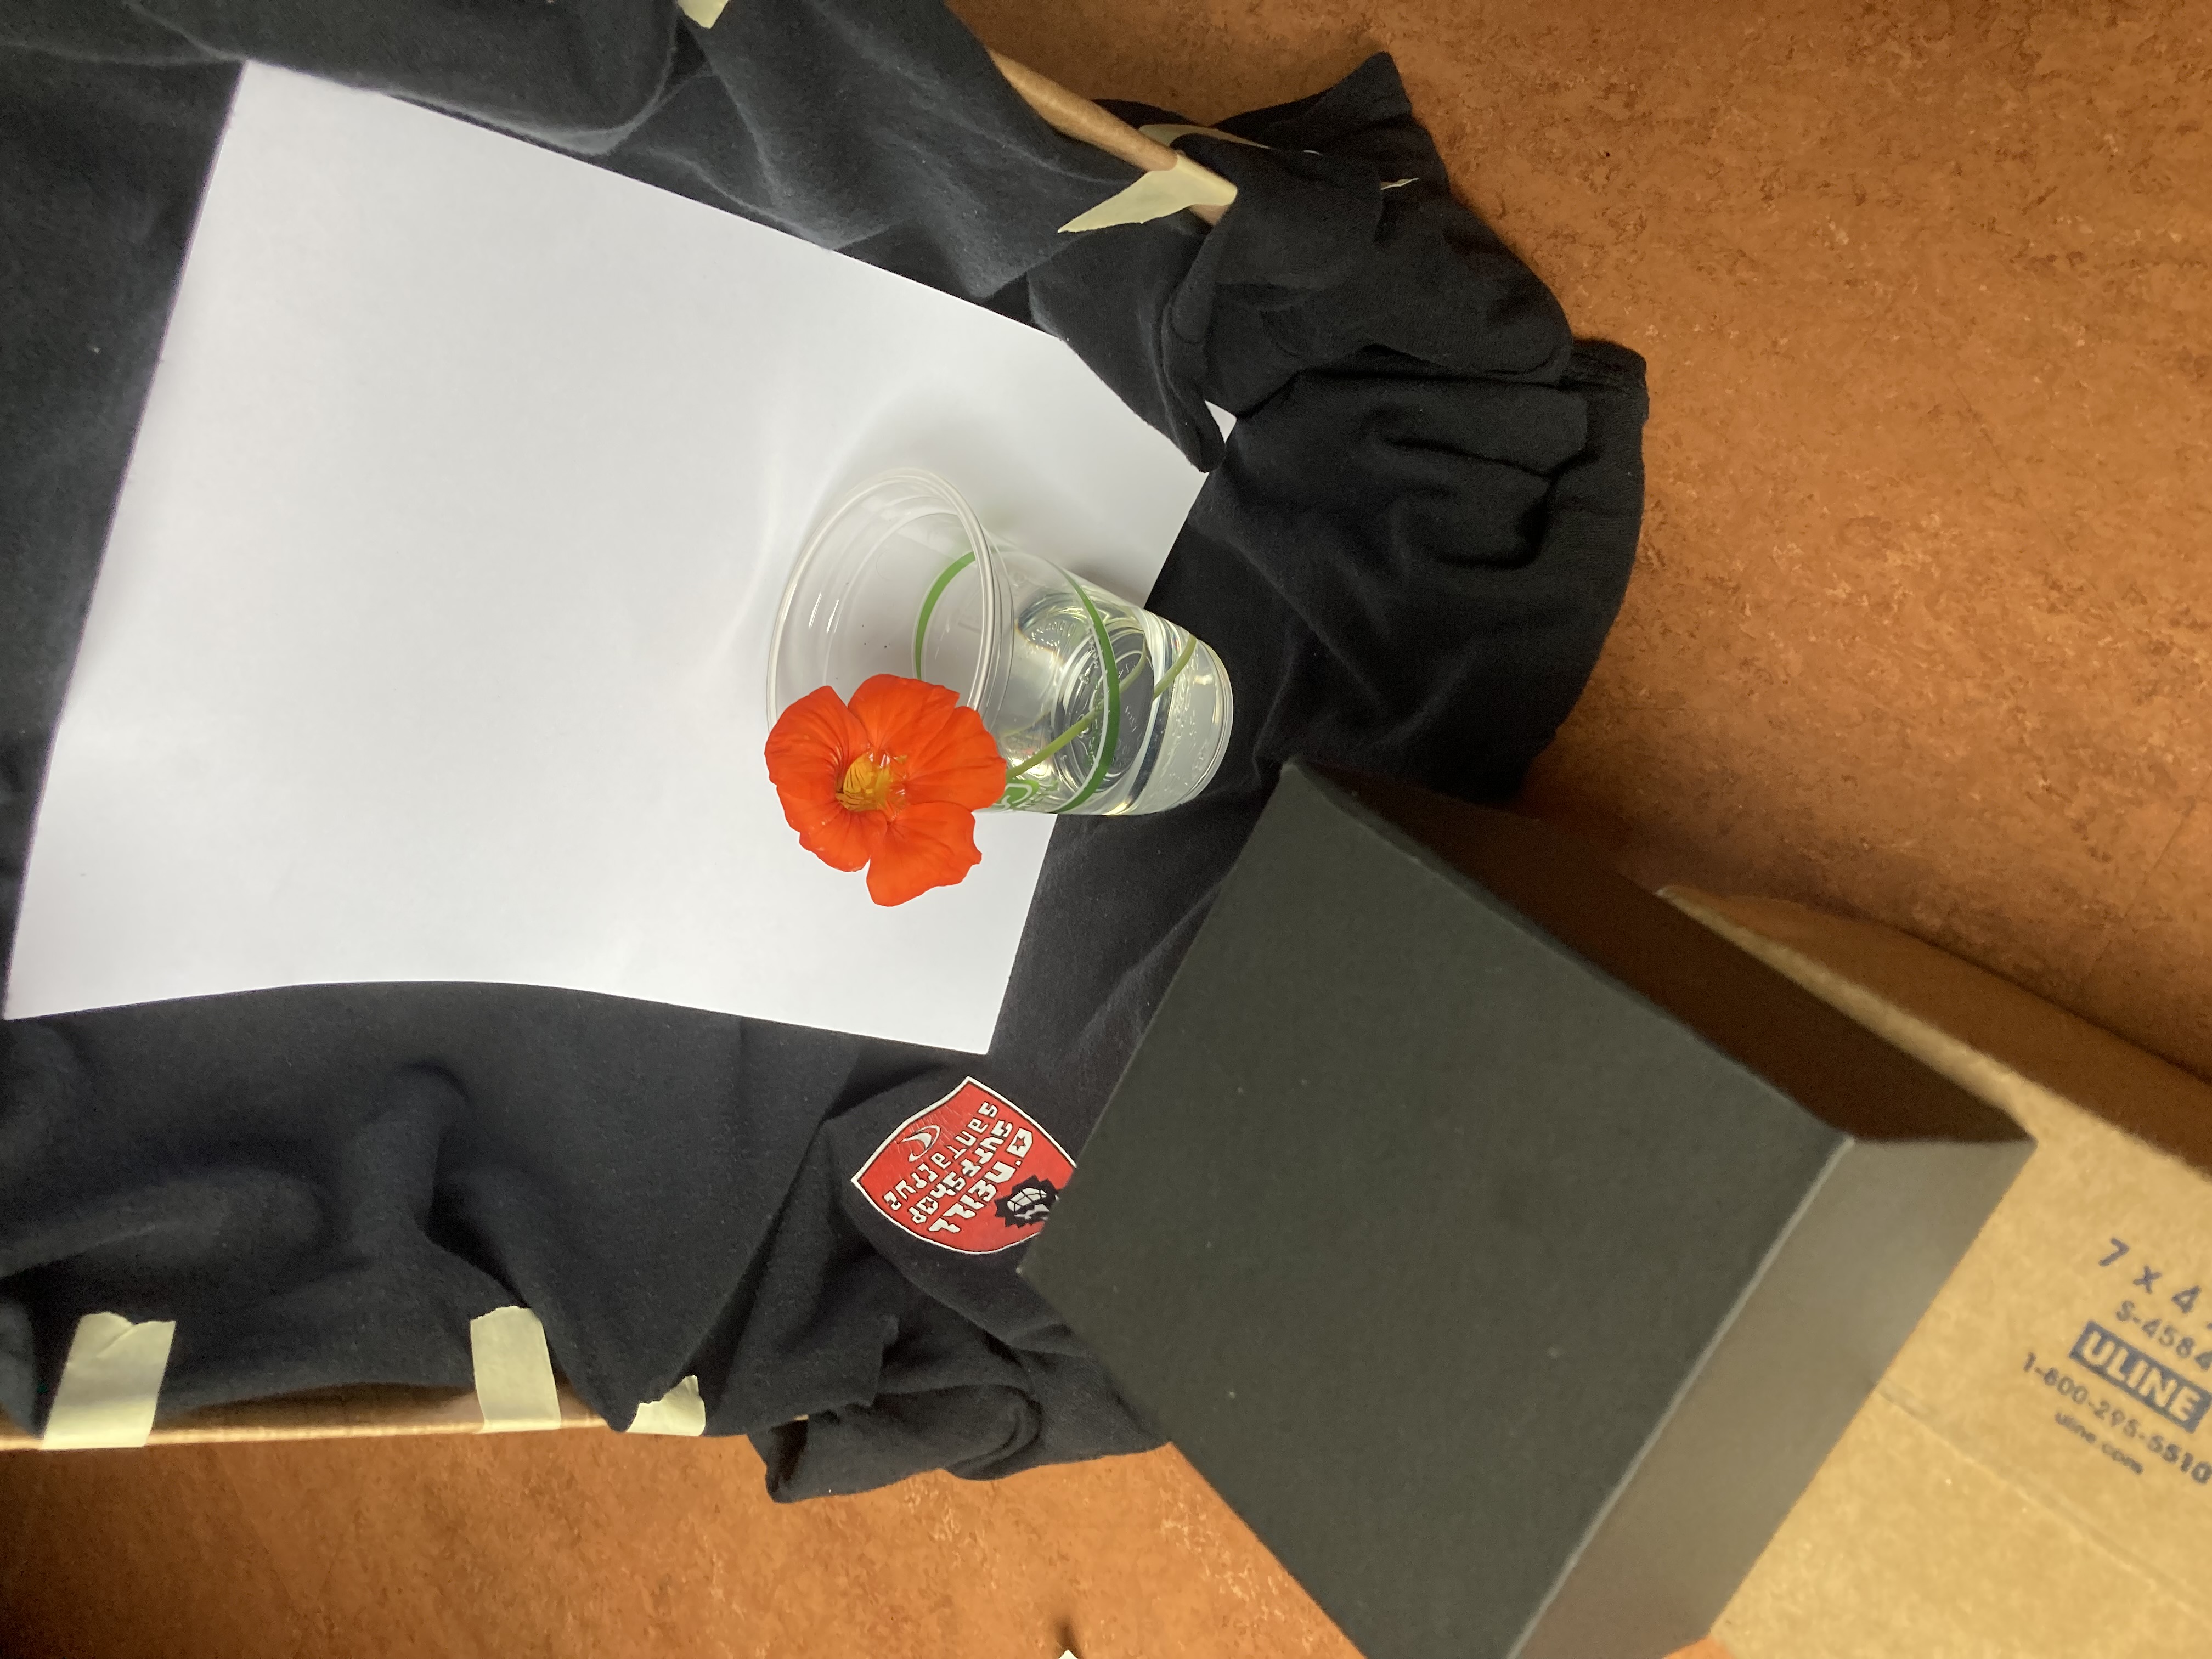
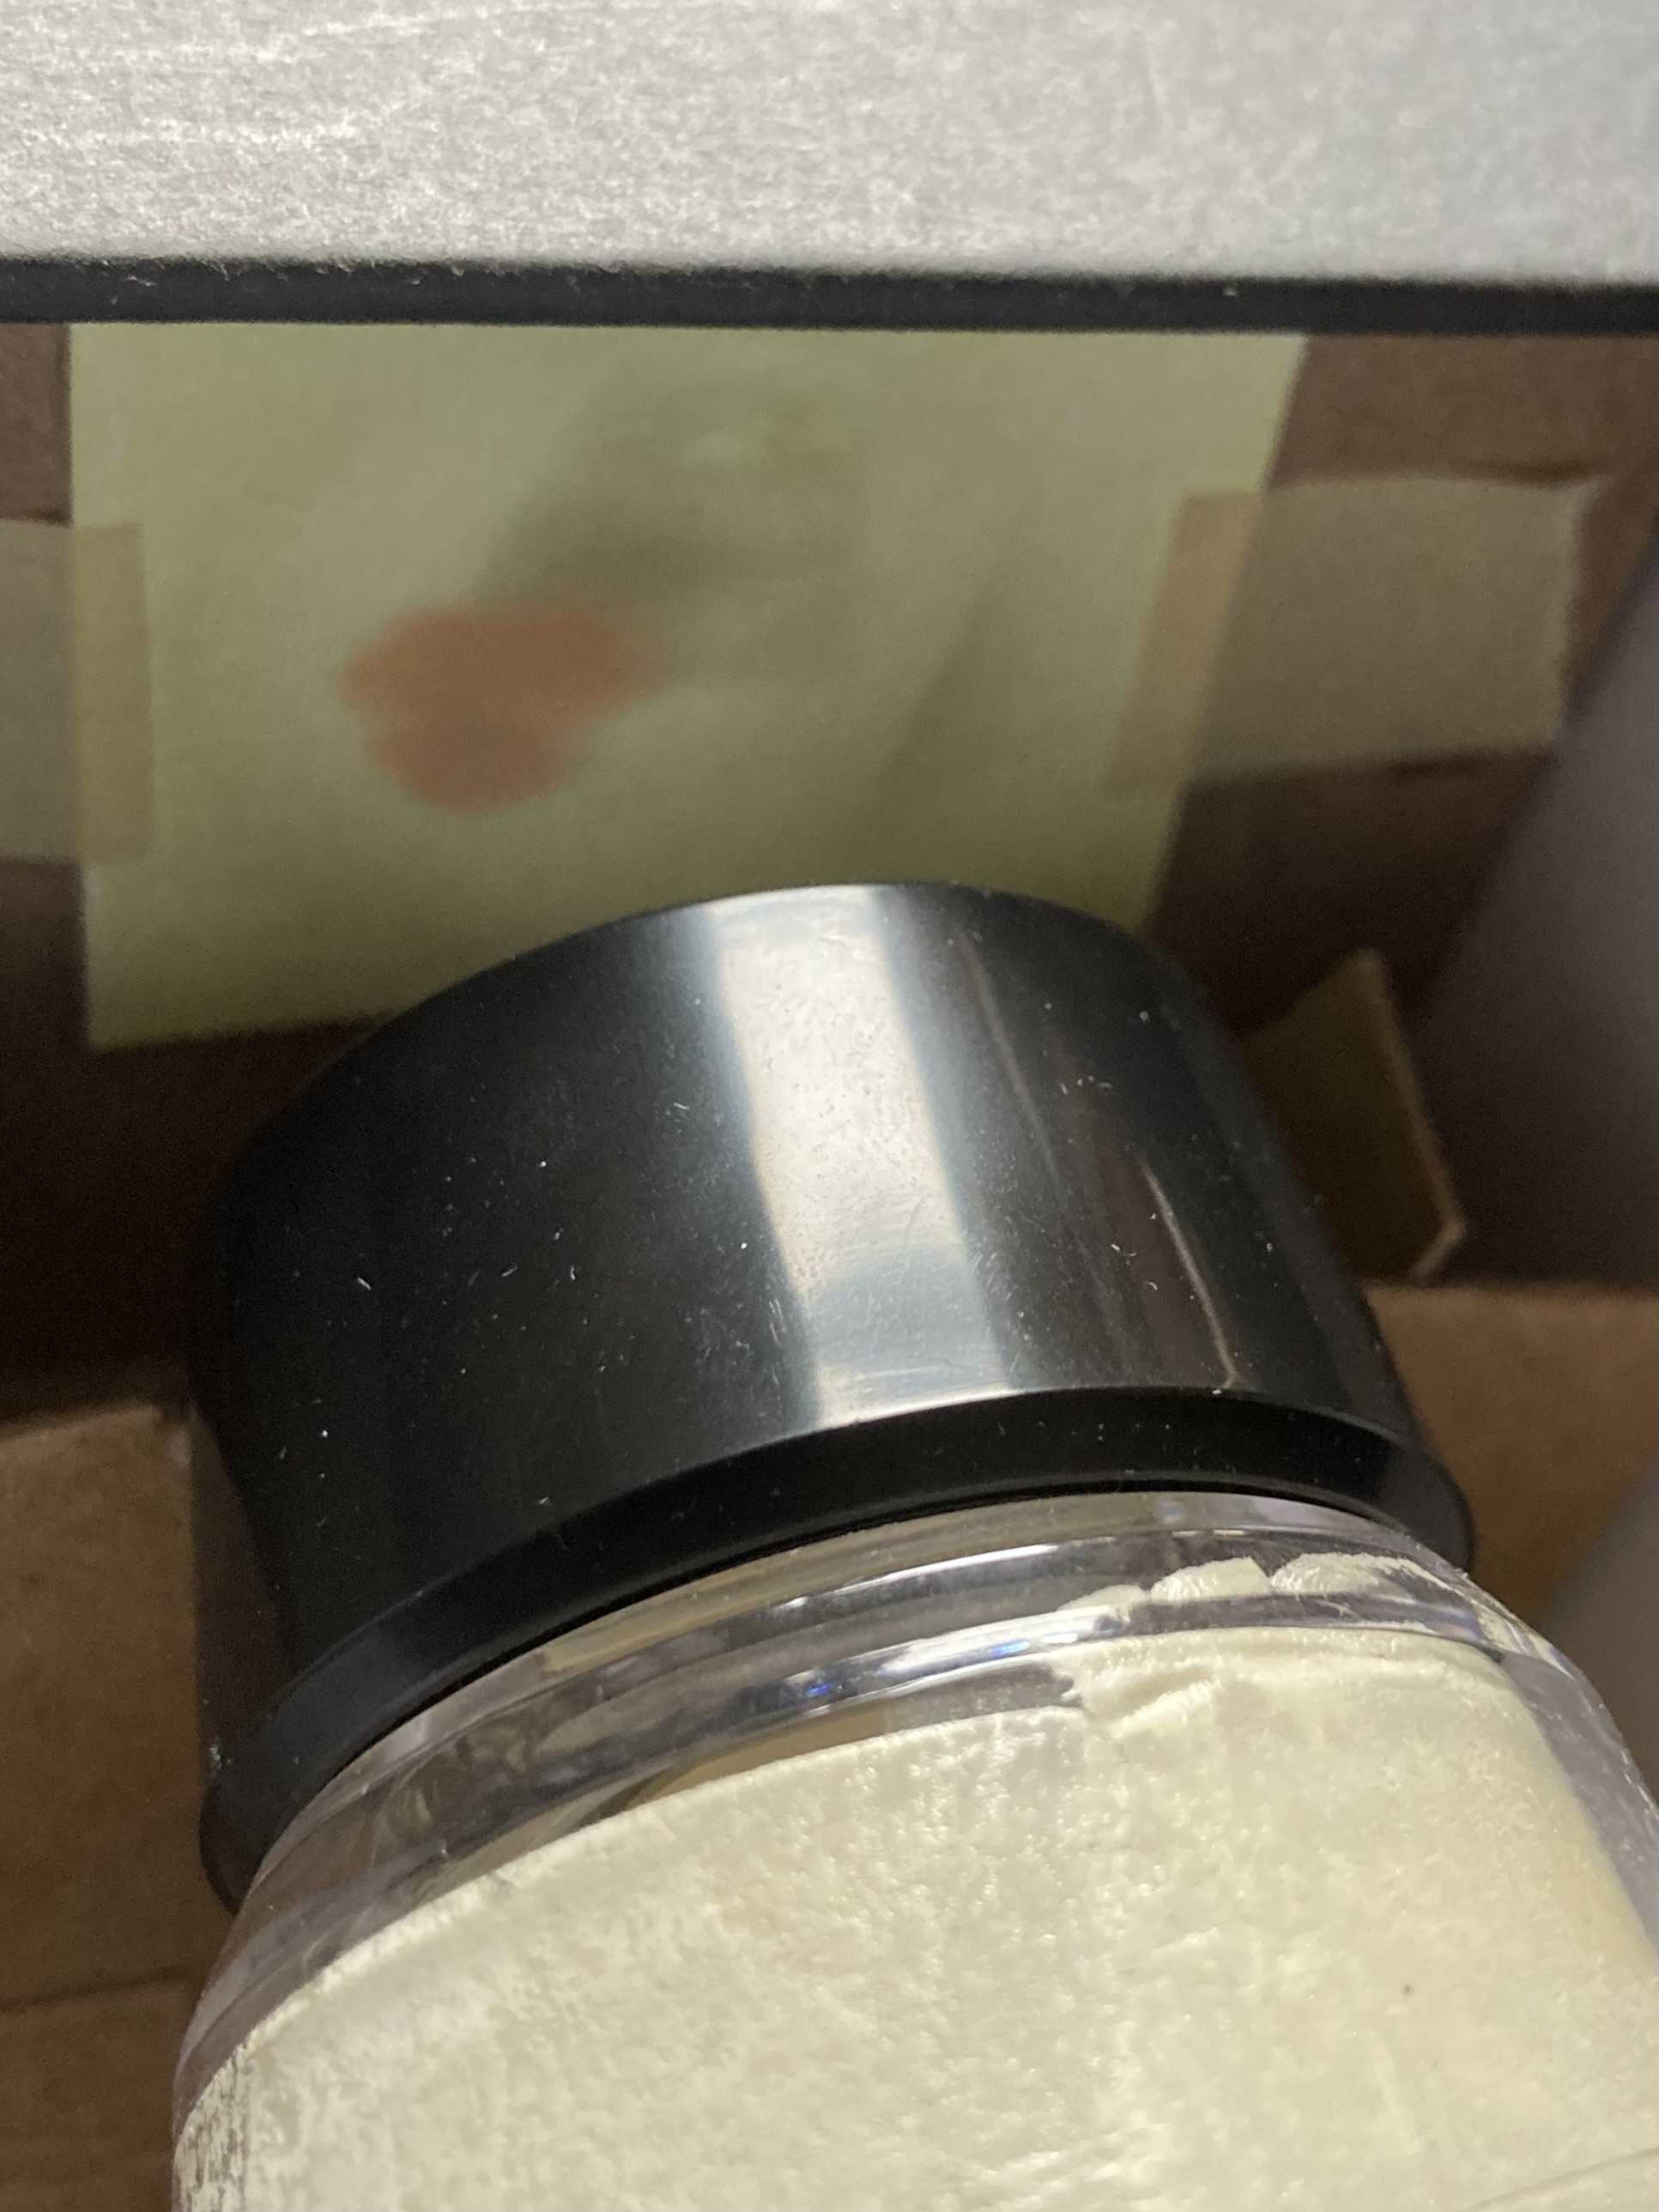
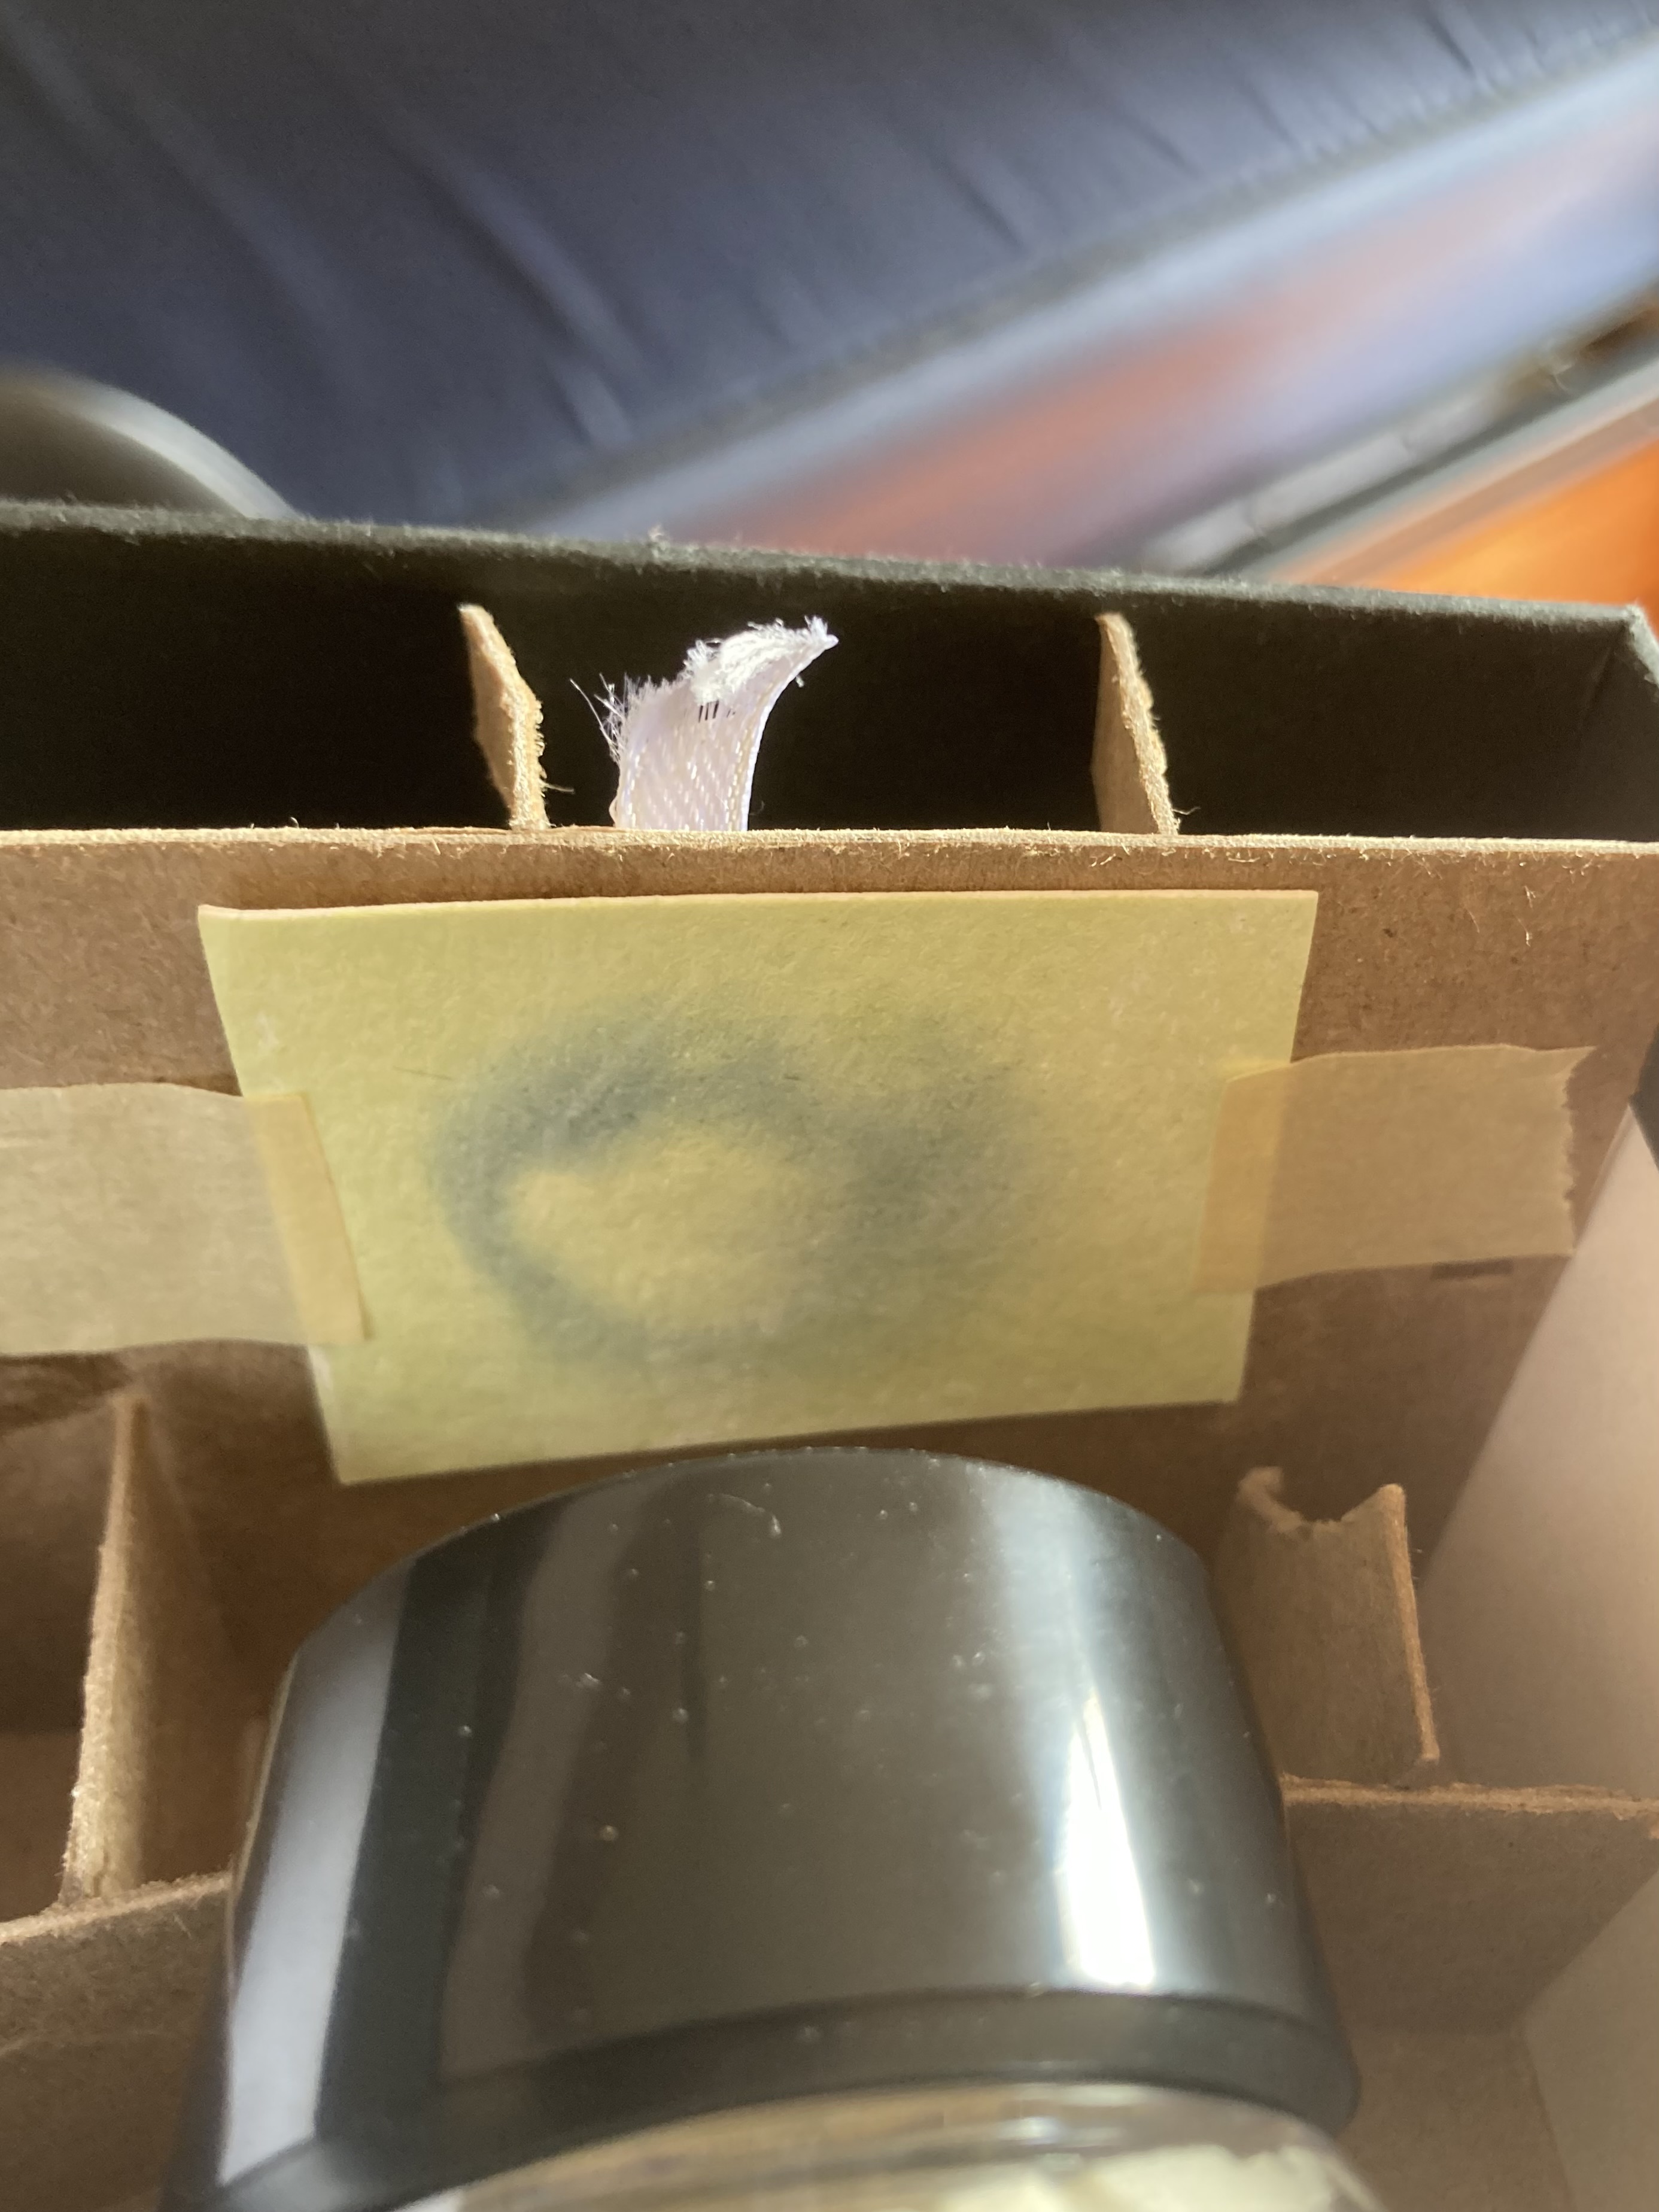
The silhouette of the flower is clearly visible, but this has failed to make any UV markings any more obvious. Some striations seem to exist near the edges of the petals, which might correspond to the ultraviolet striations I've been looking for-- but I don't think these results are conclusive by any means. At this point, my plan is to step away, and work on induced fluorescent ultraviolet photography with a DSLR camera. If I'm able to take any sort of UV photos that way, I'll start stripping the process back down and try to use cyanotype again-- but it'll probably be a while.
